
How to create a Reflection
Open you Photo by going to File>Open then select the photo.

Step 2: (Optional)
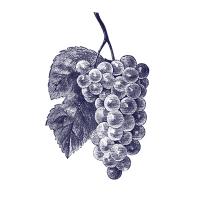
I have decided to use this photo of an apple. Now this is optional. If you would like to change the background select the Quick Selection tool and create a selection around the part of the image you would like to create a reflection. For me of course it would be the apple.

Now you will need to invert the selection by going to Select>Inverse. Next go to your paint Bucket tool and chose a color you would like the background to be and click in the area where the selection is surrounding.

^After I have done all that that would be my result^
Step 3:
Now you will need to make a copy of the thing you would like to create a reflection. Select the object again using the quick selection tool then go to Edit>Copy. After you have copied your selection go to Select>Deselect. Once you have deselected the selection on your keyboard click Command or Control V. This should past the selection you have just copied.

Step 4:
Now that you have your Copy of the Apple click the Copy layer of the apple and go to Edit> Transform >Flip Vertically. Now move the apple under the photo. For me it would me the apple with is not flipped. In some cases such as mine a some of the apple or the image you want reflected will be out of the area we are working with so simply go to Image>Reveal All. Then select your original layer and go to the brush tool select the Background color and fill it in.

Step 5:
Go to your gradient tool and make sure the foreground color is Black and the background color is White. Now select the Copied Layer and go from the bottom to the top of the flipped apple and click SHIFT to keep a straight line and once you are satisfied release the line and you should have the shadow effect.

^That is what my finished photo looks like.^
Blending Two Images
Step 1: Find Two Images
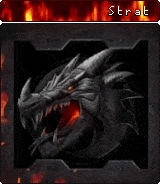
Find two of the images that you would like to blend. I have chosen:


Once you have your two images chose one and paste or open it in Photoshop. To open a image go to File>Open and choose the image.
Step 2: Paste the Second Image
Now that you have your first image paste the second image buy clicking Control-v on your keyboard or Command-v. The second image should be overlapping the first image. Now move the second image to where you would like to blend the two images together. The second image should be covered so go to Image>Reveal All. Should looks somewhat like this depending on the way you did it. I decided to put the second image on top of the first but it can be on the right, left or bottom of the first image too. Make sure to crop the image so there are no transparent pixels showing.

Step 3: Blending & Gradient
Next get your erase tool and select soft round brush. Where the two images meet erase there, Make sure it is straight. My final result was:

Edited by Dorkie, 07 August 2012 - 04:15 PM.